App Store screenshot sizes: a practical export checklist
Choose the right App Store screenshot dimensions, prepare clean exports, and check every device group before you upload.
Before you start
- Build the device-and-language export list before designing.
- Check pixel dimensions and transparency in the final files.
- Review the sequence at a small size as well as full resolution.
A beautiful screenshot is still the wrong asset if it is exported for the wrong display group. Before choosing a frame or a headline, decide which platforms, device layouts, and languages your release actually supports. Then build an export list from those decisions. This guide separates the file requirements from the design work so that a late resize does not undo an otherwise finished set.
Selected screenshot sizes to start with
Apple’s current screenshot specifications list the following portrait sizes. These are selected iPhone and iPad groups, not a complete list of every Apple platform. Width comes first.
| Display group | Accepted portrait dimensions |
|---|---|
| iPhone with Dynamic Island, medium display | 1179 × 2556 or 1206 × 2622 px |
| iPhone with Dynamic Island, large display | 1260 × 2736, 1290 × 2796, or 1320 × 2868 px |
| iPad, 13-inch display | 2064 × 2752 or 2048 × 2732 px |
Apple currently identifies the medium Dynamic Island iPhone group as required for iPhone submissions, and the 13-inch group for apps supporting iPadOS. Its table also describes when one group can be scaled from another. Match the group shown in your App Store Connect release rather than relying on an older template’s inch label. For landscape assets, use the corresponding landscape dimensions in Apple’s table.
Make an export plan before a layout
Create a small matrix with one row per device layout and one column per language. Mark which screens need their own capture. A phone interface and a tablet interface may tell the same story, but a stretched phone image does not explain a real tablet layout. Keep those source captures separate from the marketing compositions around them.
Give every slide a stable job: the central benefit, a main workflow, a useful detail, and a reason to return. Use the same job names in your working files. If the first slide becomes “main-benefit,” its French and English versions remain easy to compare even when their headlines differ.
Capture a convincing product state
Populate the app with coherent demonstration content before capturing it. A recipe app can show a readable recipe, its ingredients, and a plausible saved collection. A camera app needs an image that helps explain its tools. Empty placeholders make a technically valid screenshot much harder to understand.
Use demonstration accounts and content you have permission to show. Check that names, messages, addresses, and private information are not visible. When a screen contains a subscription or a price, make sure that the composition accurately represents the product you are submitting. Keep the untouched captures so that later edits do not require rebuilding a flattened design.
Check the exported files, not just the canvas
Apple accepts one to ten screenshots per device size in JPEG, JPG, or PNG, and excludes alpha channels and transparency. That requirement applies to the final file, including an apparently opaque PNG that still contains an alpha channel. Use the official specification as the upload reference.
- Open the exported file and inspect its actual pixel dimensions.
- Flatten the artwork against its intended background before exporting.
- Check that the chosen export preset did not add a border or change the canvas size.
- Look for soft UI text caused by enlarging a small capture.
- Inspect both the first and last image; a batch export can hide an unfinished slide.
Review at viewing size
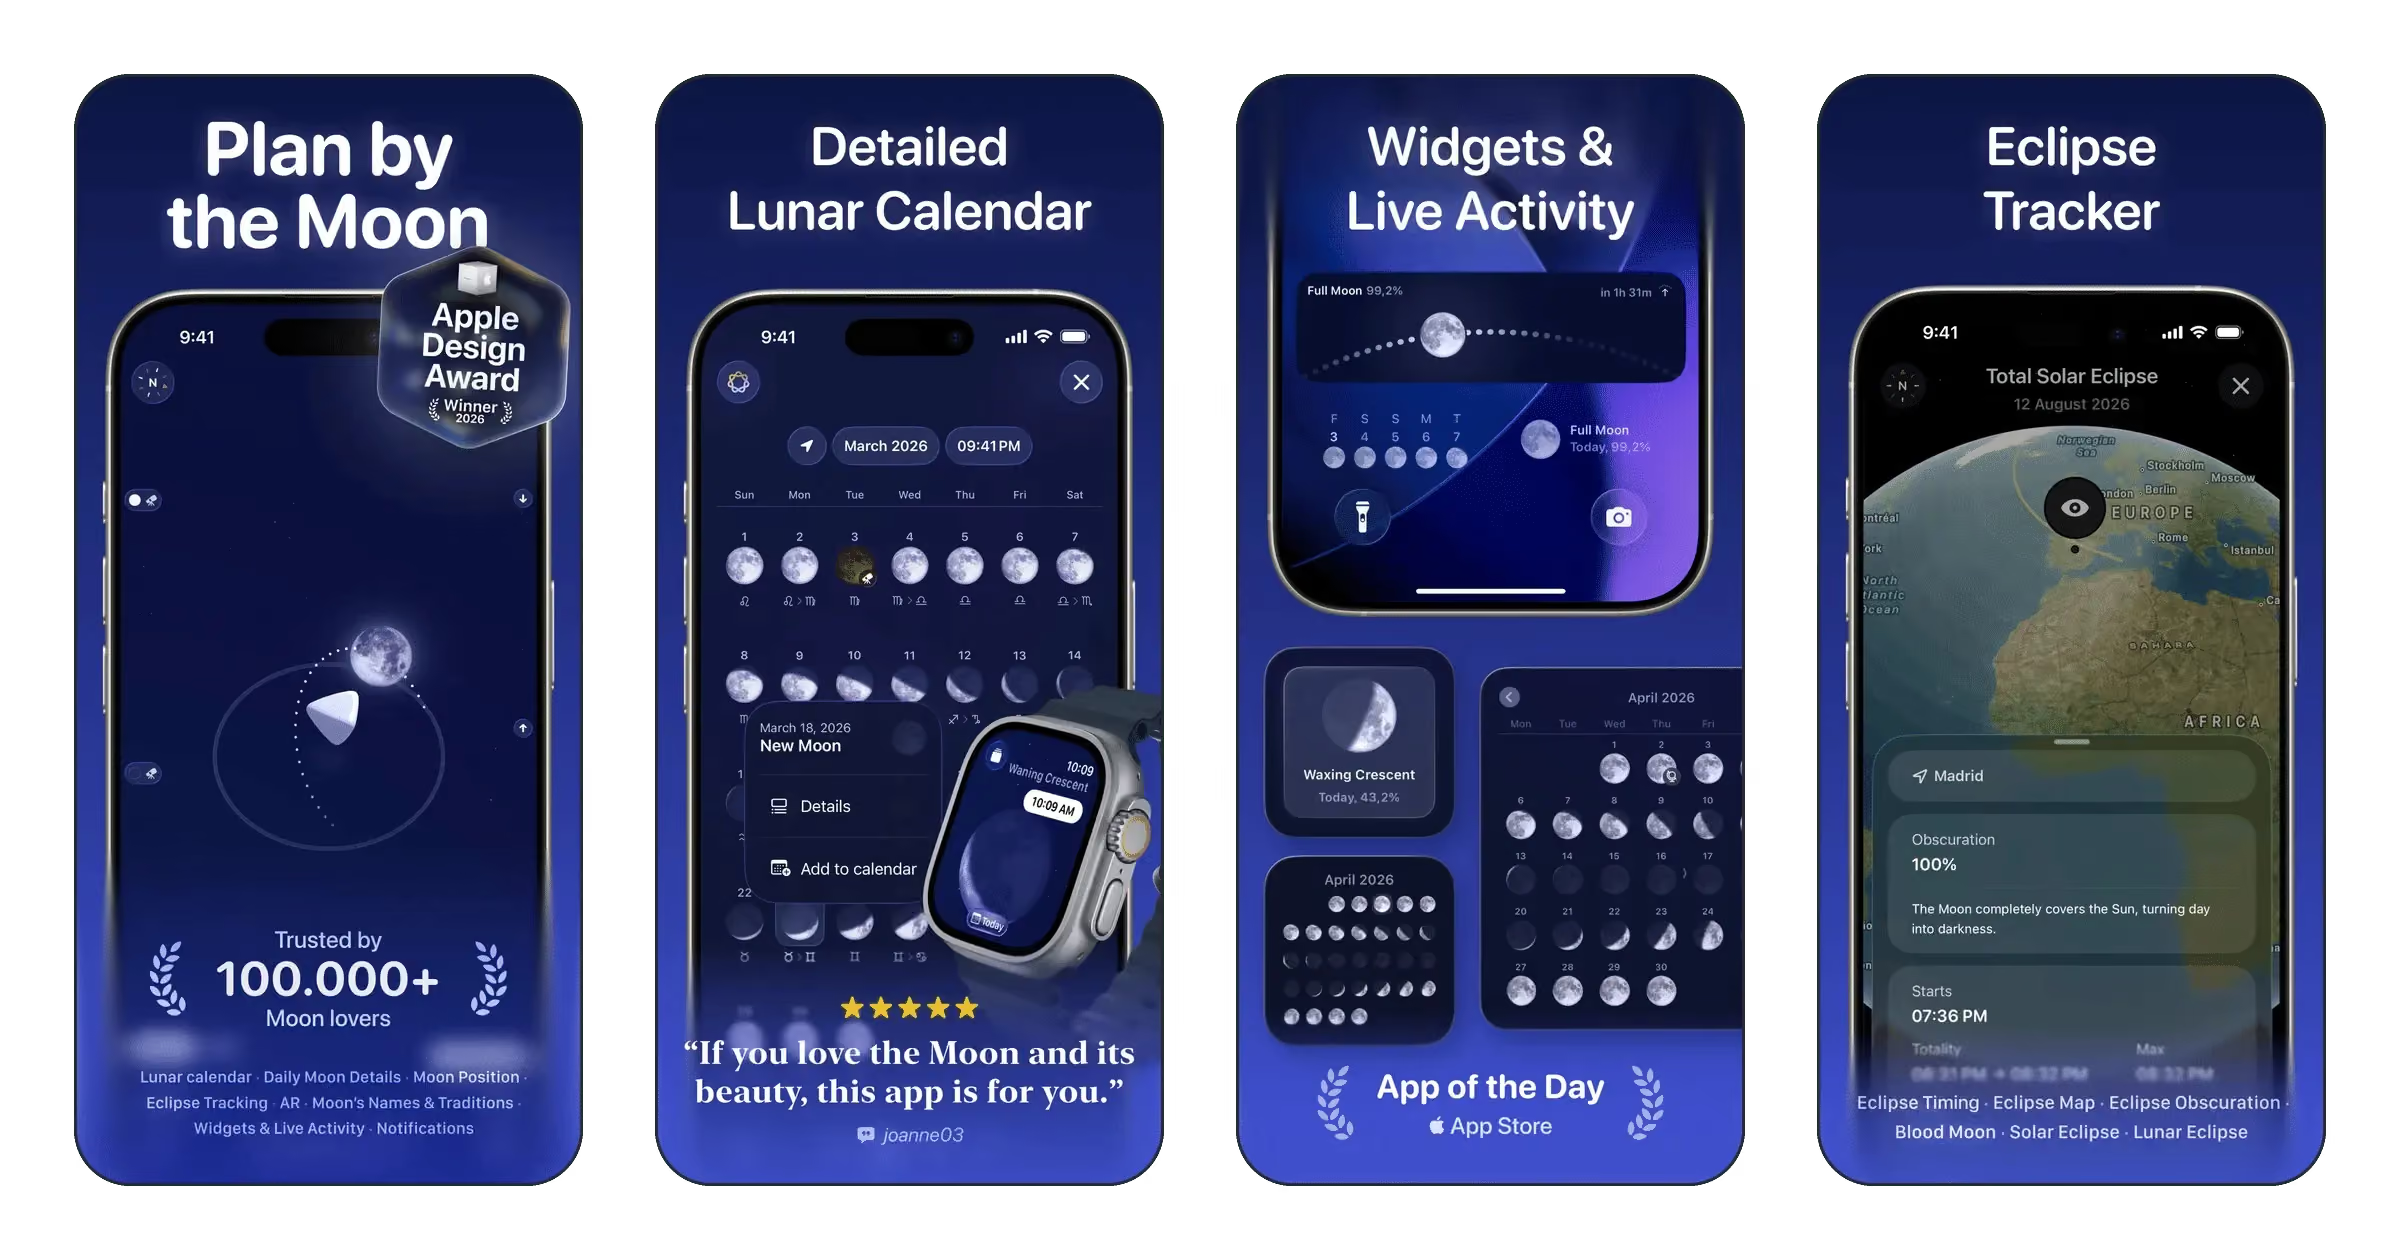
Put the set beside a few real references from the Appshot gallery. The Moonlitt sequence is a useful exercise: identify the main message of each slide before opening the images at full resolution. Apply the same exercise to your own set. If a slide only makes sense when enlarged, simplify its headline or crop the interface more decisively.
Finally, name files so that someone else can upload them without guessing. A pattern such as en-US_iphone-medium_01_main-benefit.png records language, target, order, and purpose. Keep the final export directory free of alternatives. Once dimensions are settled, use our first-screenshot guide to refine the story, then review the localization checklist before preparing additional languages.
Sources & further reading
Technical references checked November 5, 2026.